
Server version requirements
Checklist
Open http://<server-ip>:7001/MagicInfo from another machine on the same network. Capital M, capital I.
That single rule covers registration, approval and content download on this server version — full port details are in the server install page's "Firewall + the server's IP" section. Nothing extra is needed for the QM65C.
Prefer wired over Wi-Fi — Wi-Fi is a reported cause of intermittent content-delivery failures. Check ⚙ SETTINGS → Network → Network Status: it must show a working connection before you touch server settings.
⚙ SETTINGS → System → Time → Clock Set. A wrong date/time is a documented cause of registration failure, and the Player won't run without a clock at all.
Enter the server address
On this model the server settings live under Network, not System. Ignore Embedded Server Settings in the same menu — that is an unrelated local-web-server feature (port 4000), not MagicInfo.
Address: 192.168.x.x only — no http://, no :7001, no /MagicInfo, no capital letters. Port: 7001. Leave the TLS option off for a plain-HTTP server; TLS switches everything to port 7002 and requires a valid certificate.
There is no "connected" banner. Success is a small toast reading "Clock adjusted" (the screen syncing time from the server) in the bottom-left. If nothing appears, re-check address and port character by character — typos are the #1 reported failure cause.
Server Network Settings → MagicInfo Mode → Lite. Screens talk Premium by default and the console will say "Not enough licenses" — Lite is what the 25 free licenses cover.
Approve the screen
Only general-administrator accounts have approval rights — a restricted operator account won't even see the button.
Fill the dialog: device name, group, location. Approving several identical screens at once names them name_(1), name_(2)…
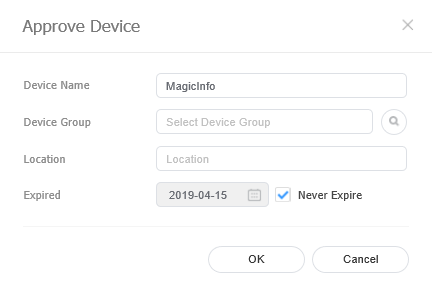
MagicINFO 9 has a known role-dependent bug where the dashboard's unapproved count disagrees with the real list. If the dashboard says 0, still open Device → Unapproved and look.
Administration → License — the table starts as "No data"; use the Free License button to claim the 25 Lite licenses (screenshots on the server install page).
Switch playback to the server
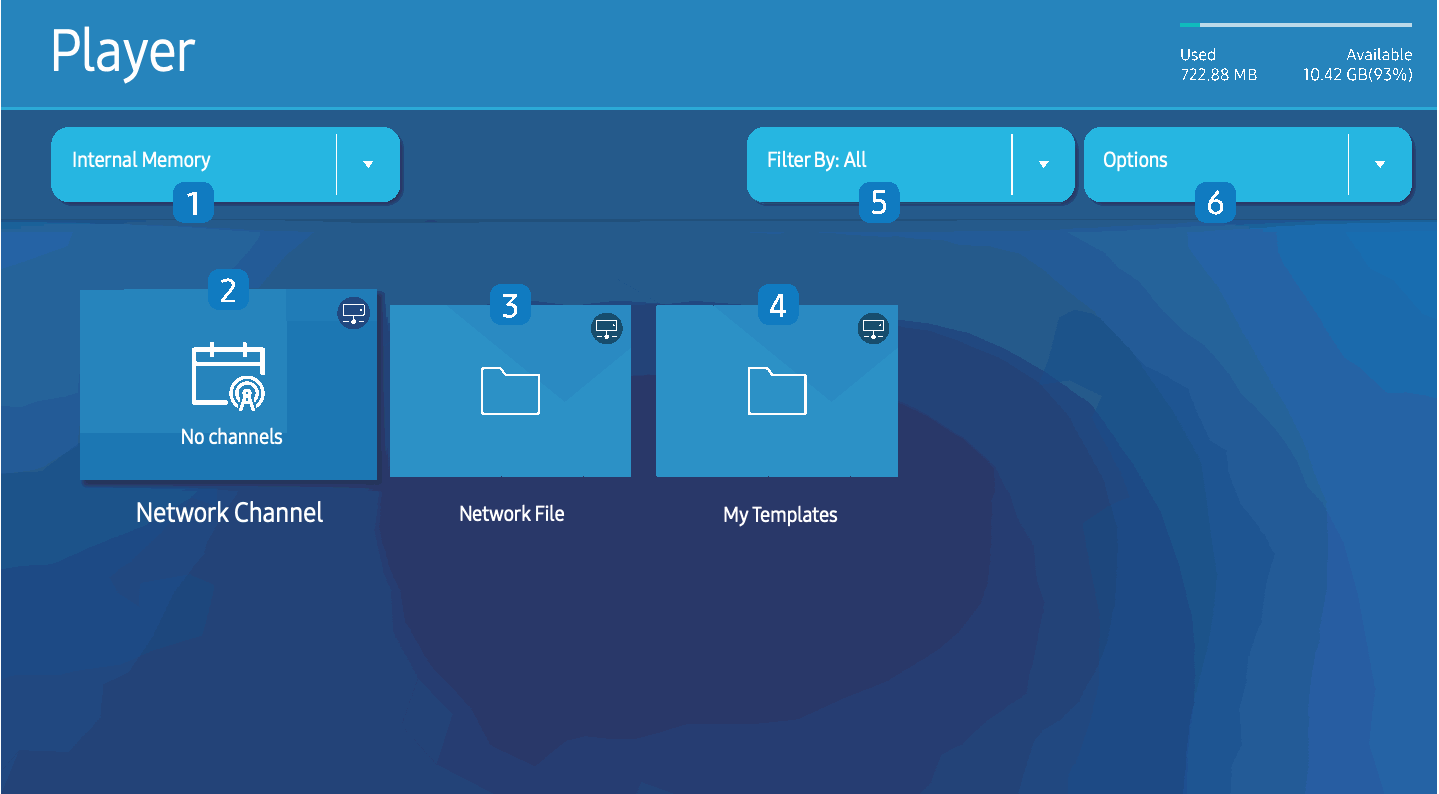
Same launch behavior as USB mode: MagicInfo starts playing immediately; ■ Stop lands you on the Player screen.
This is the switch from local playback to server-fed content. Once a channel is published from the console, it appears here; until then the tile says "No channels".
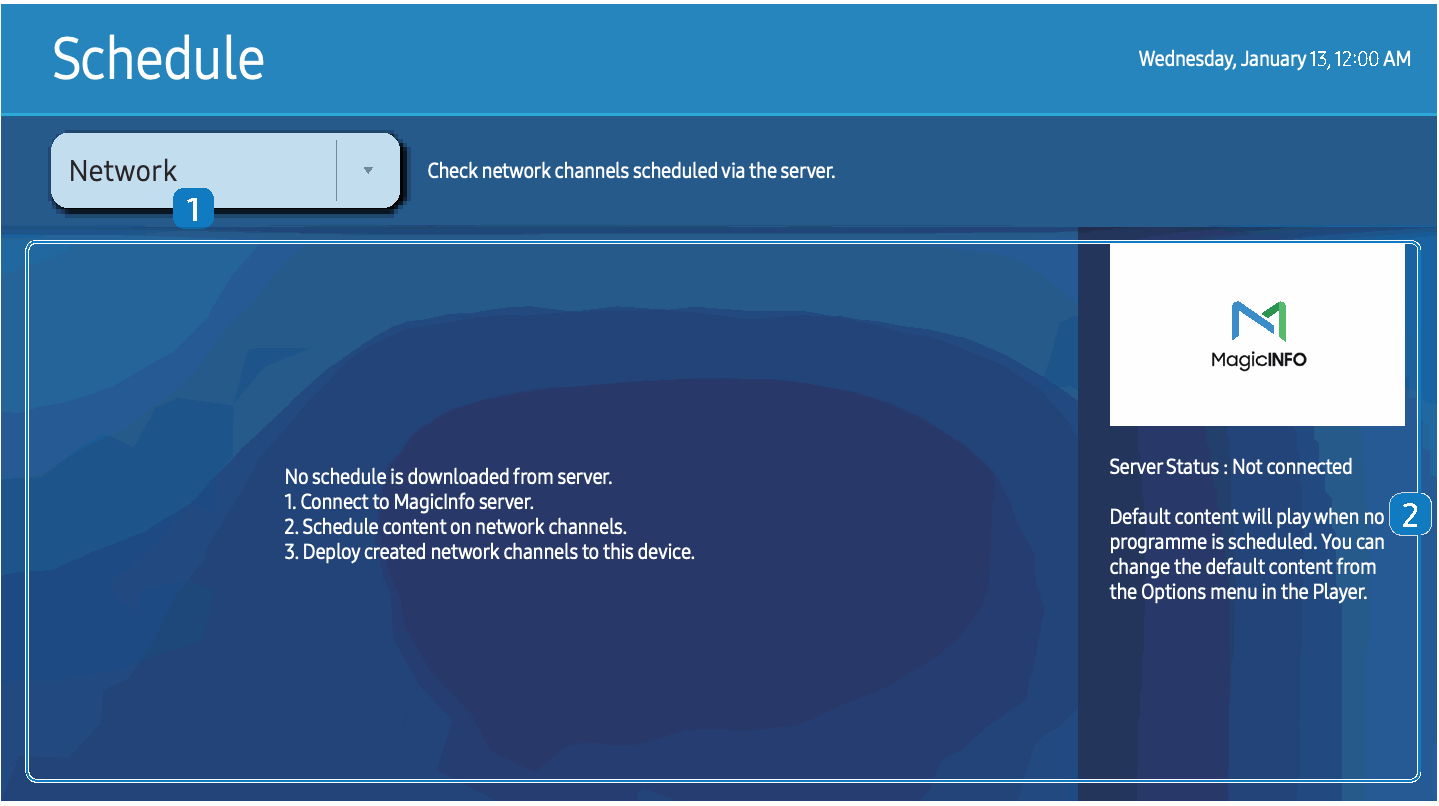
Home → Features → Schedule shows Server Status top-right. "Not connected" there = the address/port step failed. INFO during Network Channel playback shows connection state too.
http://<server-ip>:7001/MagicInfo opens from a laptop or phone on the screen's network segment (proves the firewall rule and routing).Server-related settings on this model
| Setting | Path | Note |
|---|---|---|
| Connect to server | ⚙ → Network → Server Network Settings | IP + port 7001, TLS off |
| MagicInfo Mode | ⚙ → Network → Server Network Settings | Set Lite; resets server address — re-enter it |
| Server Access | ⚙ → Network → Server Network Settings | Must be Allow |
| FTP Mode | ⚙ → Network → Server Network Settings | Passive is safer behind firewalls |
| Verify MagicINFO Server | ⚙ → Network → Server Network Settings | Leave off — with TLS + self-signed cert it silently blocks the connection |
| Screen Monitoring Lock | ⚙ → System → Security | If On, the console can't see screen captures |
| Server Security Status | ⚙ → System → Security | Shows server info once connected — quick sanity check |
| Embedded Server Settings | ⚙ → Network | Not MagicInfo — don't touch |