
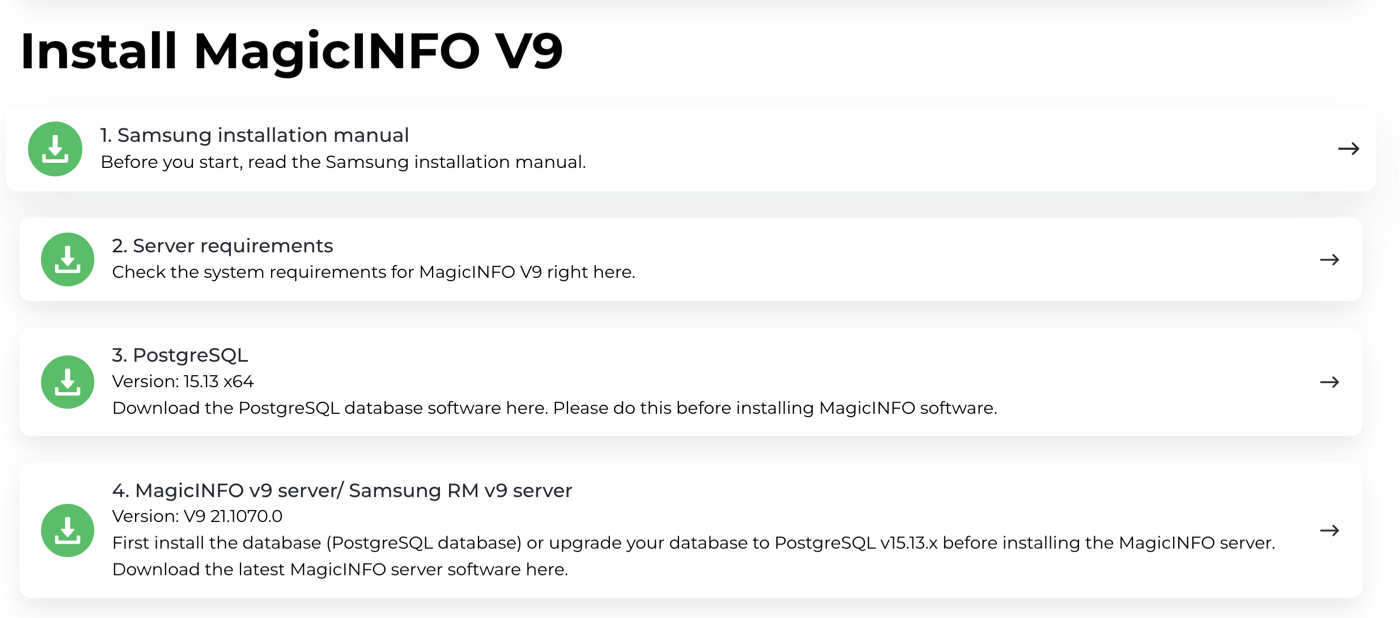
Get the installer
From magicinfoservices.com/magicinfo-software — item "MagicINFO v9 server". Current version at time of writing: V9 21.1092.3. No account needed; the download is free.
Express install, screen by screen
Right-click the installer → Run as administrator. Choose Express when asked — it auto-configures everything, including the web port 7001. (Advanced is only for splitting the server across multiple machines.)
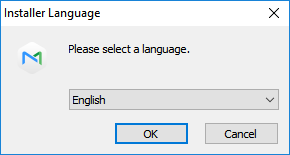
An advisory about using HTTP instead of HTTPS. For a LAN-only install, HTTP is the normal choice.
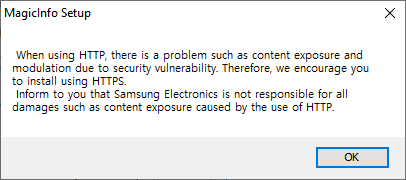
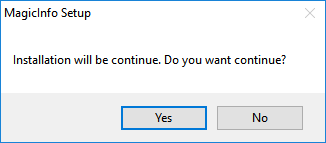
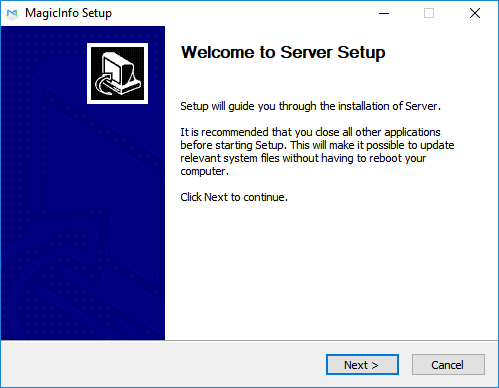
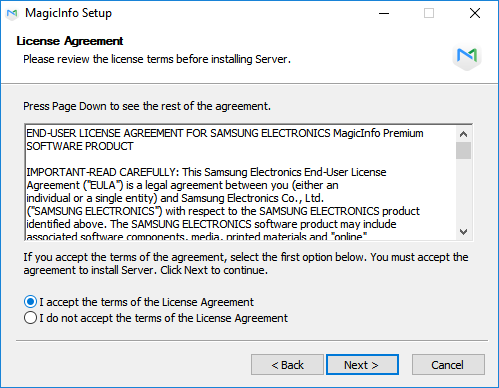
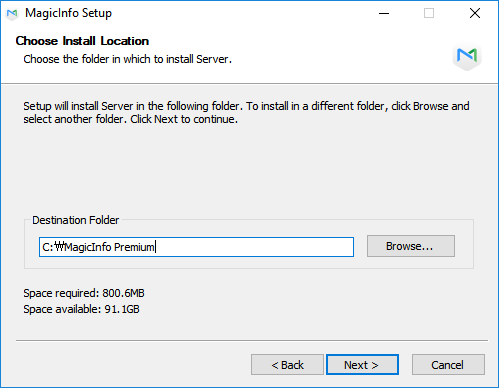
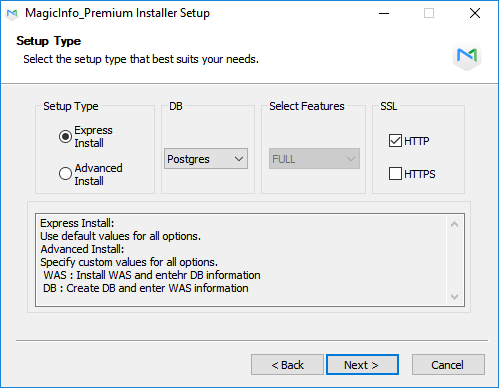
Select Express Install, set the database to PostgreSQL, and choose HTTP (one of HTTP/HTTPS must be selected — there is no "neither"). On current installers this screen also has a Select Features group with a Remote Logger checkbox — untick it.
The installer detects the PC's LAN IPv4 automatically and pre-fills it (for example 192.168.100.24). Check it matches the IPv4 Address from ipconfig, leave it as it is, and click Next. This is the address the screens will use to reach the server — the same IP you type into the display on your model's connect page.
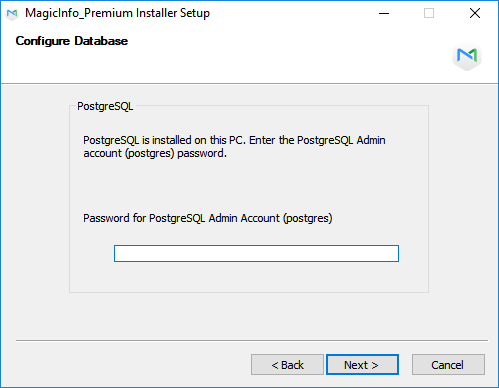
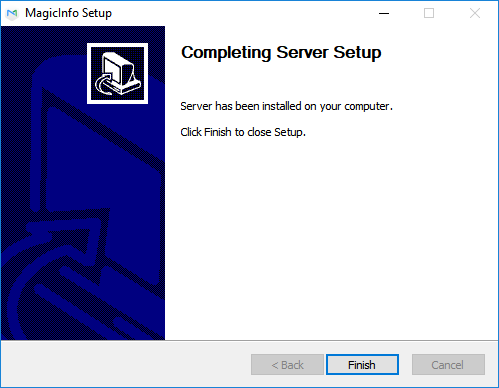
This screen shows the generated administrator accounts and passwords. There is no Save button in the Express install — copy every line into the site notes next to the PostgreSQL password, or photograph the screen.
Scroll the box. It is cut off mid-way through DB Information; the Server Administrator Information you actually need is below the fold and easy to miss.
This screen is your only record — newer versions no longer create the old MISInformation.txt file. Once you click Next, it is gone.
Open the web console
The server starts in the background after install. Go to:
http://localhost:7001/MagicInfoThe trailing MagicInfo is case-sensitive — capital M, capital I. From another machine on the network use http://<server-ip>:7001/MagicInfo.
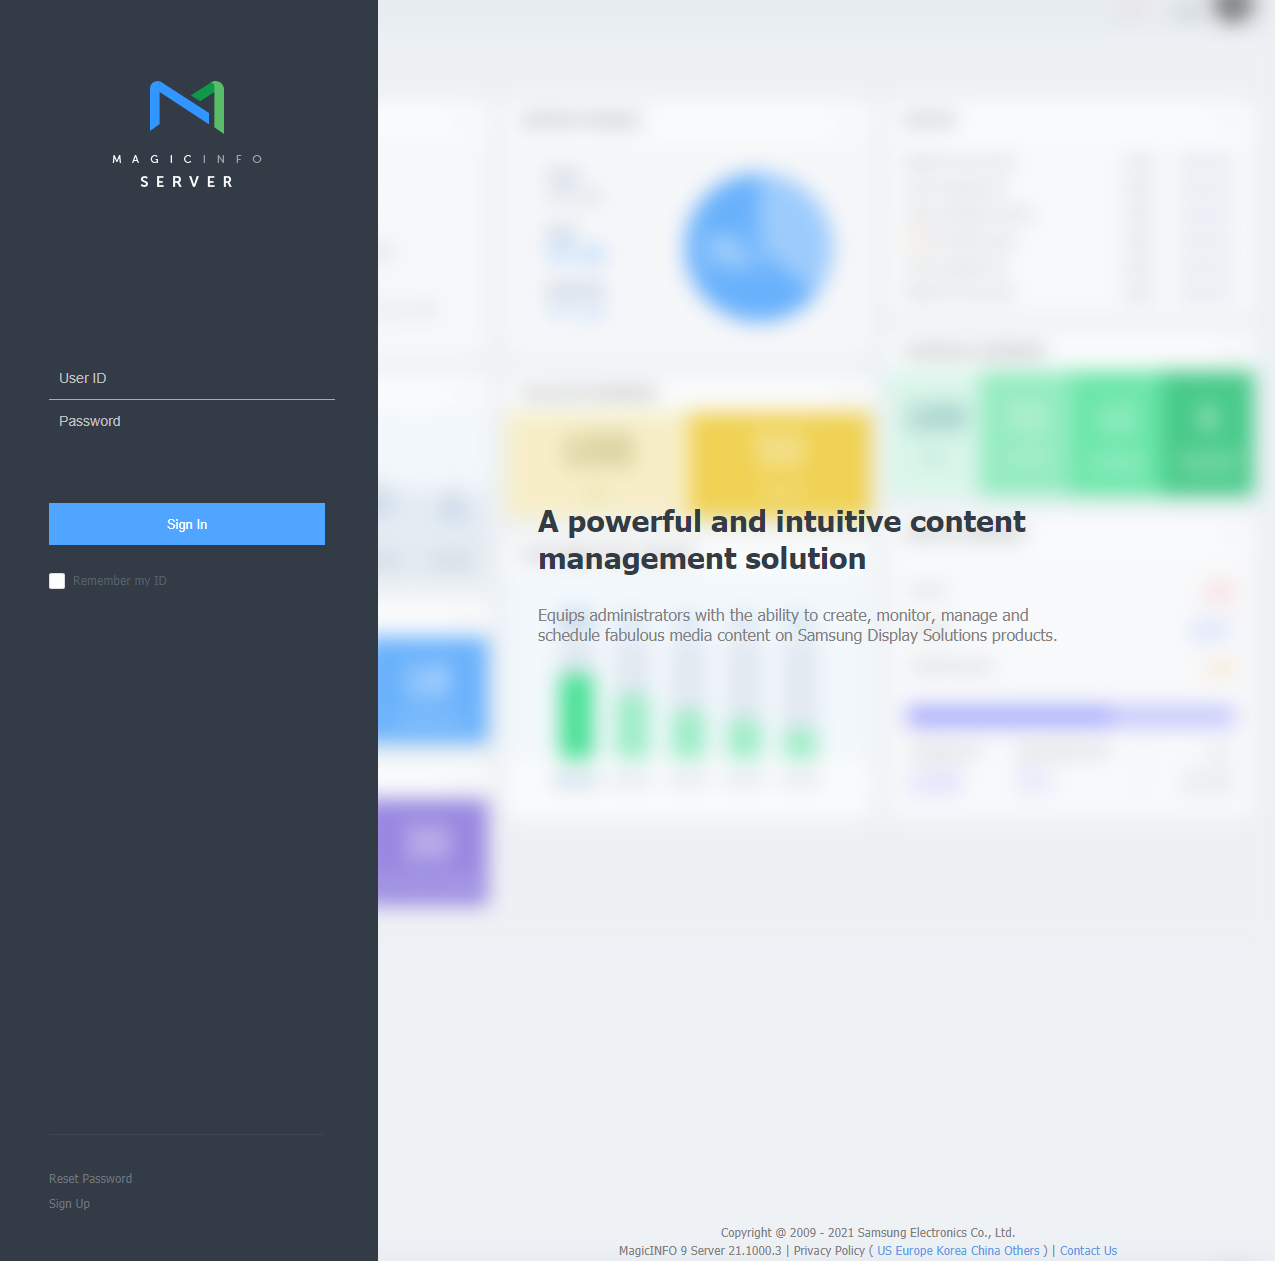
Use the administrator account from the "Installation information" screen you saved. On older servers where that file was lost, try the legacy defaults admin / admin2016 (some builds use admin2016! with the exclamation mark). Change the password when prompted — and change the organization administrator's password too, not just admin.
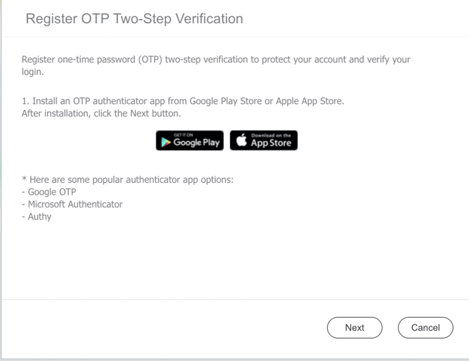
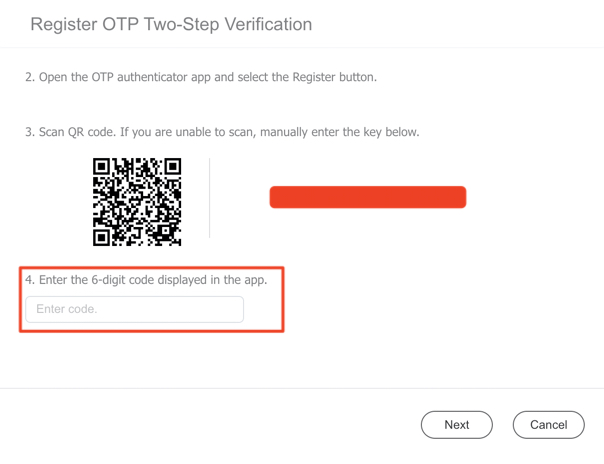
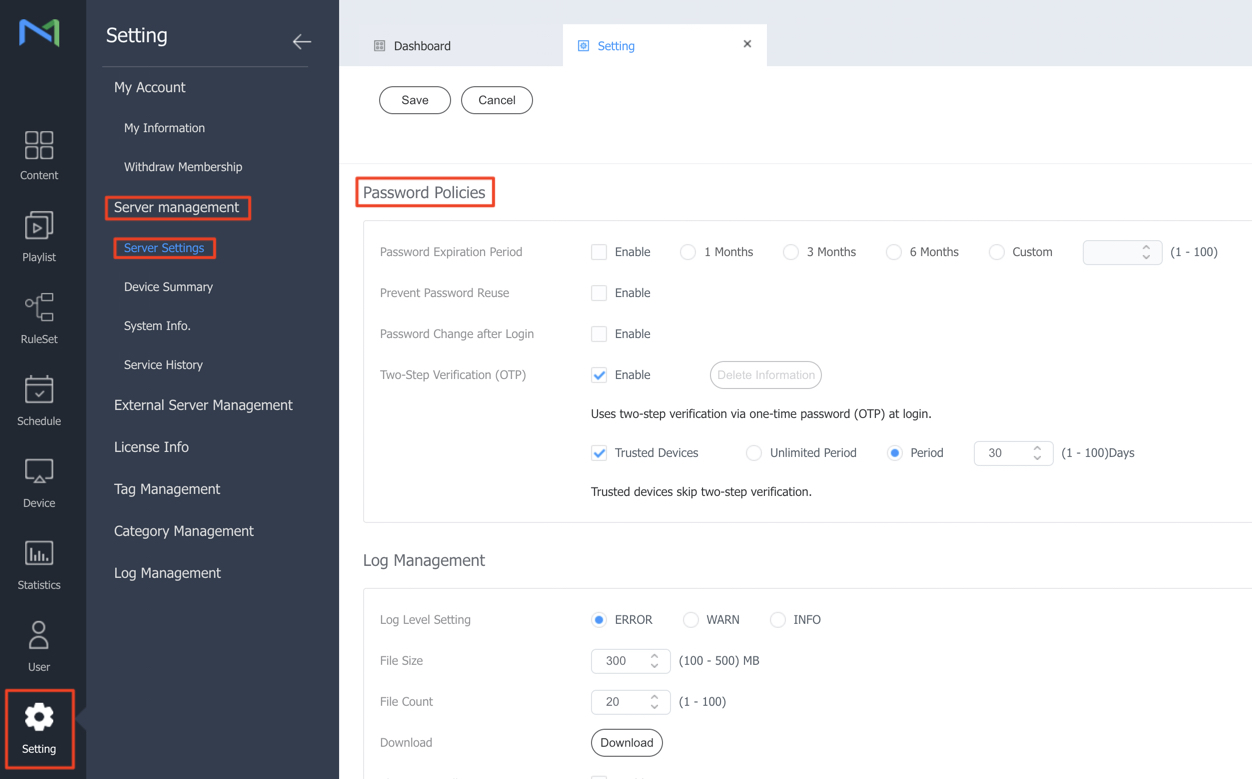
On first login the console opens a Register OTP Two-Step Verification dialog. It cannot be skipped — MFA has been mandatory since server release 21.1070.0 (November 2025).
Install a TOTP authenticator app on the phone — Google Authenticator, Microsoft Authenticator or Authy — then scan the QR code (or type the manual key), enter the 6-digit code from the app and click Next.
Use a password in this format — long, with capitals, small letters, digits and a symbol:
Ruqaqa@Screens2026That is an example of the format only — this guide is public, so make a different one for every install. Write it in the site notes.
Symbols are fine here. The banned characters from the PostgreSQL installer apply only there; this one is typed into a web form.
After the new password the console shows a privacy policy screen asking you to select your location. Saudi Arabia is not in the list — select Others. Tick the consent checkbox, then click Save.
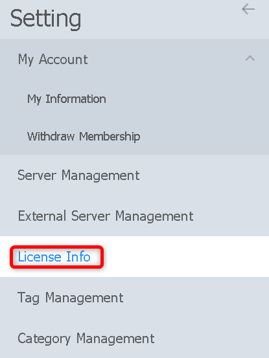
On a fresh install the gear (Setting) → License Management shows "No data". That is normal — nothing is pre-registered. The console also hides most menus until a license exists, so a sparse-looking console at this point is not a failed install. Nothing can be approved until you claim the license here.

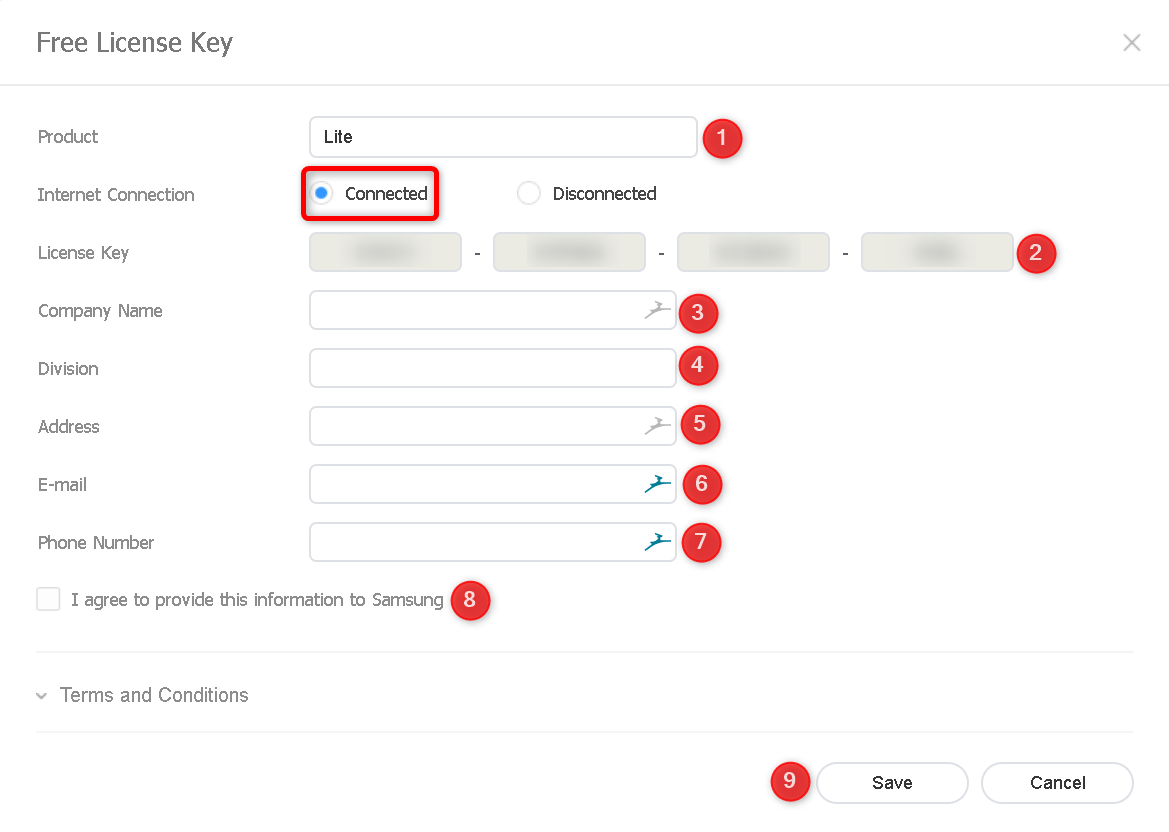
In the Free License Key dialog: set Product to Lite and Internet Connection to Connected. The License Key fills itself — type nothing into it. Complete Company Name, Division, Address, E-mail and Phone Number, tick I agree to provide this information to Samsung, then click Save.
After Save the table lists the Lite license with 25 devices and no expiry date, and device approval starts working.
Server with no internet? Choose Disconnected instead, send the H/W Unique Key shown to the license provider, then upload the key file they send back.
Firewall + the server's IP
Screens reach the server on TCP port 7001. Windows 11's firewall blocks it by default — this is the #1 reason a screen "can't find the server".
Open Command Prompt, run ipconfig, read IPv4 Address under the active adapter (e.g. 192.168.1.50). This is what you'll type into the screens on your model's connect page.
Press the Win key, type wf.msc, press Enter. Then Inbound Rules → New Rule… → Port → TCP, specific port 7001 → Allow the connection → tick Domain + Private (+ Public if unsure of the network profile) → name it MagicINFO Server 7001 → Finish. Or as a one-liner in a Command Prompt opened with Run as administrator (press the Win key, type cmd, right-click Command Prompt → Run as administrator):
netsh advfirewall firewall add rule name="MagicINFO 7001" dir=in action=allow protocol=TCP localport=7001The four sections you'll actually use
| Section | What it does |
|---|---|
| Content | The media library — upload images and videos here. |
| Playlist | Ordered sets of content items. |
| Schedule | When and where playlists run; publishing sends them to screens. |
| Device | The screens — grouped, with an Unapproved tab for new arrivals. |
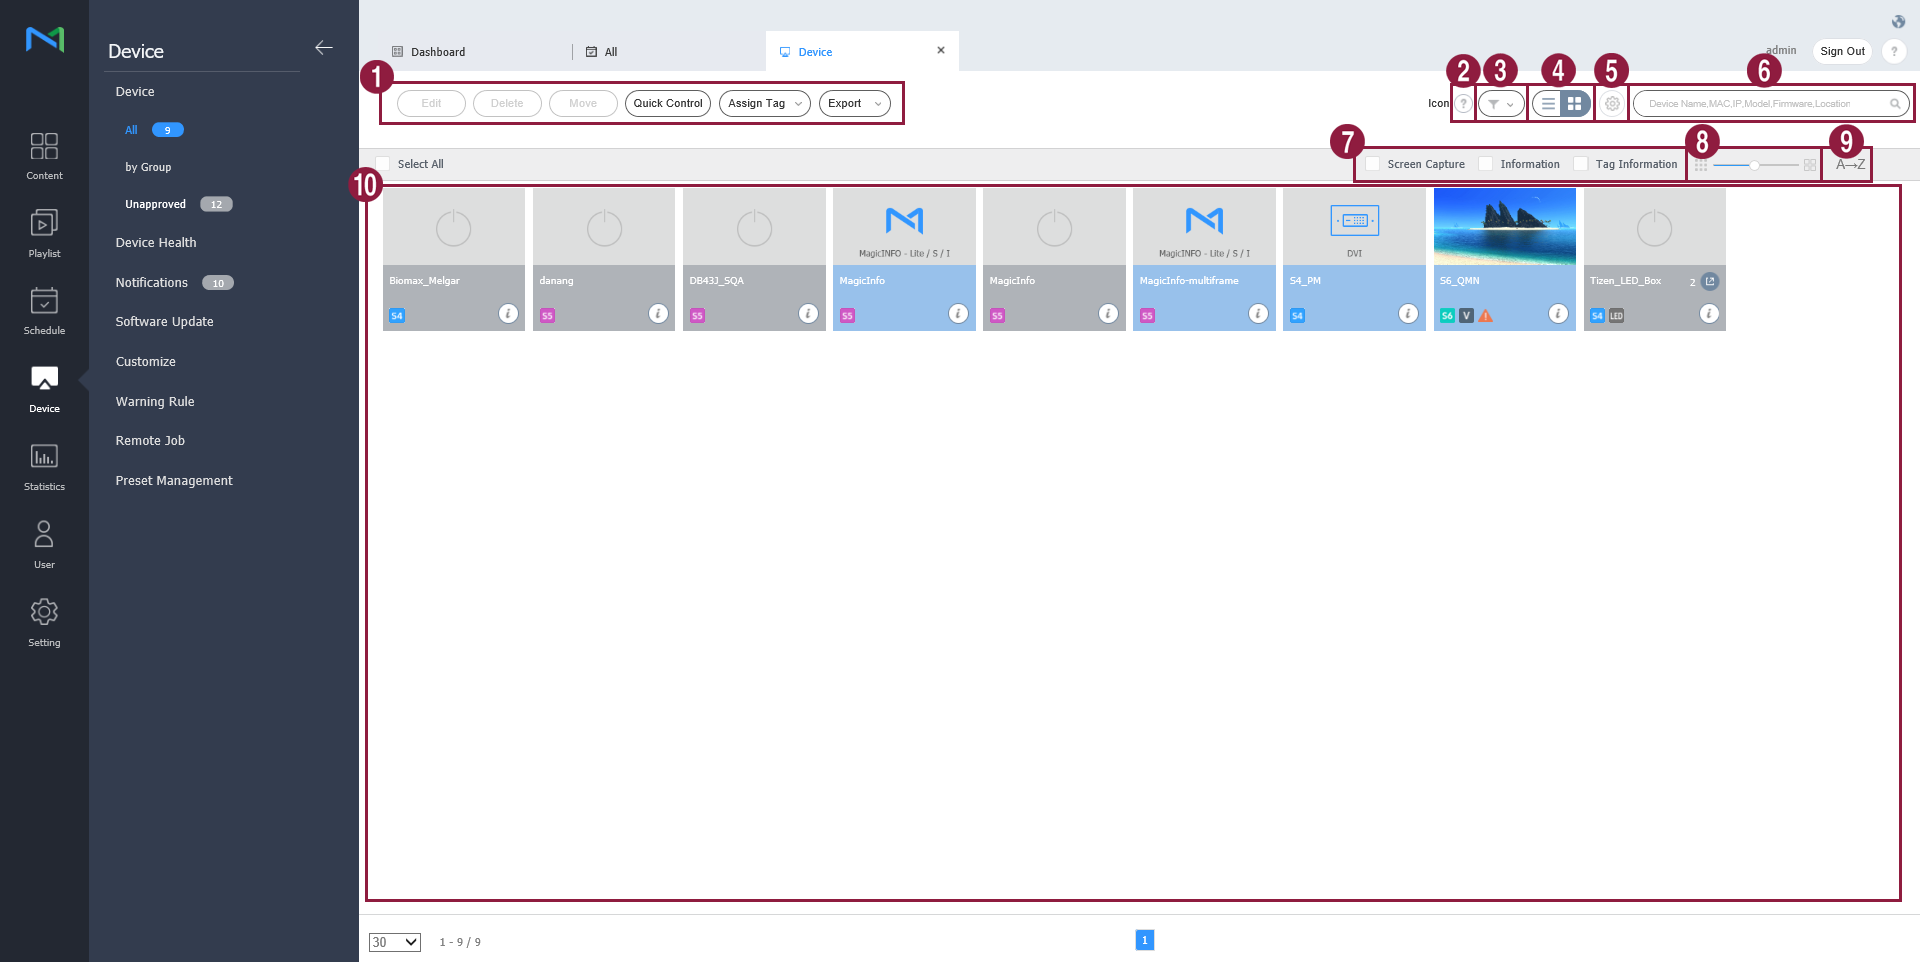
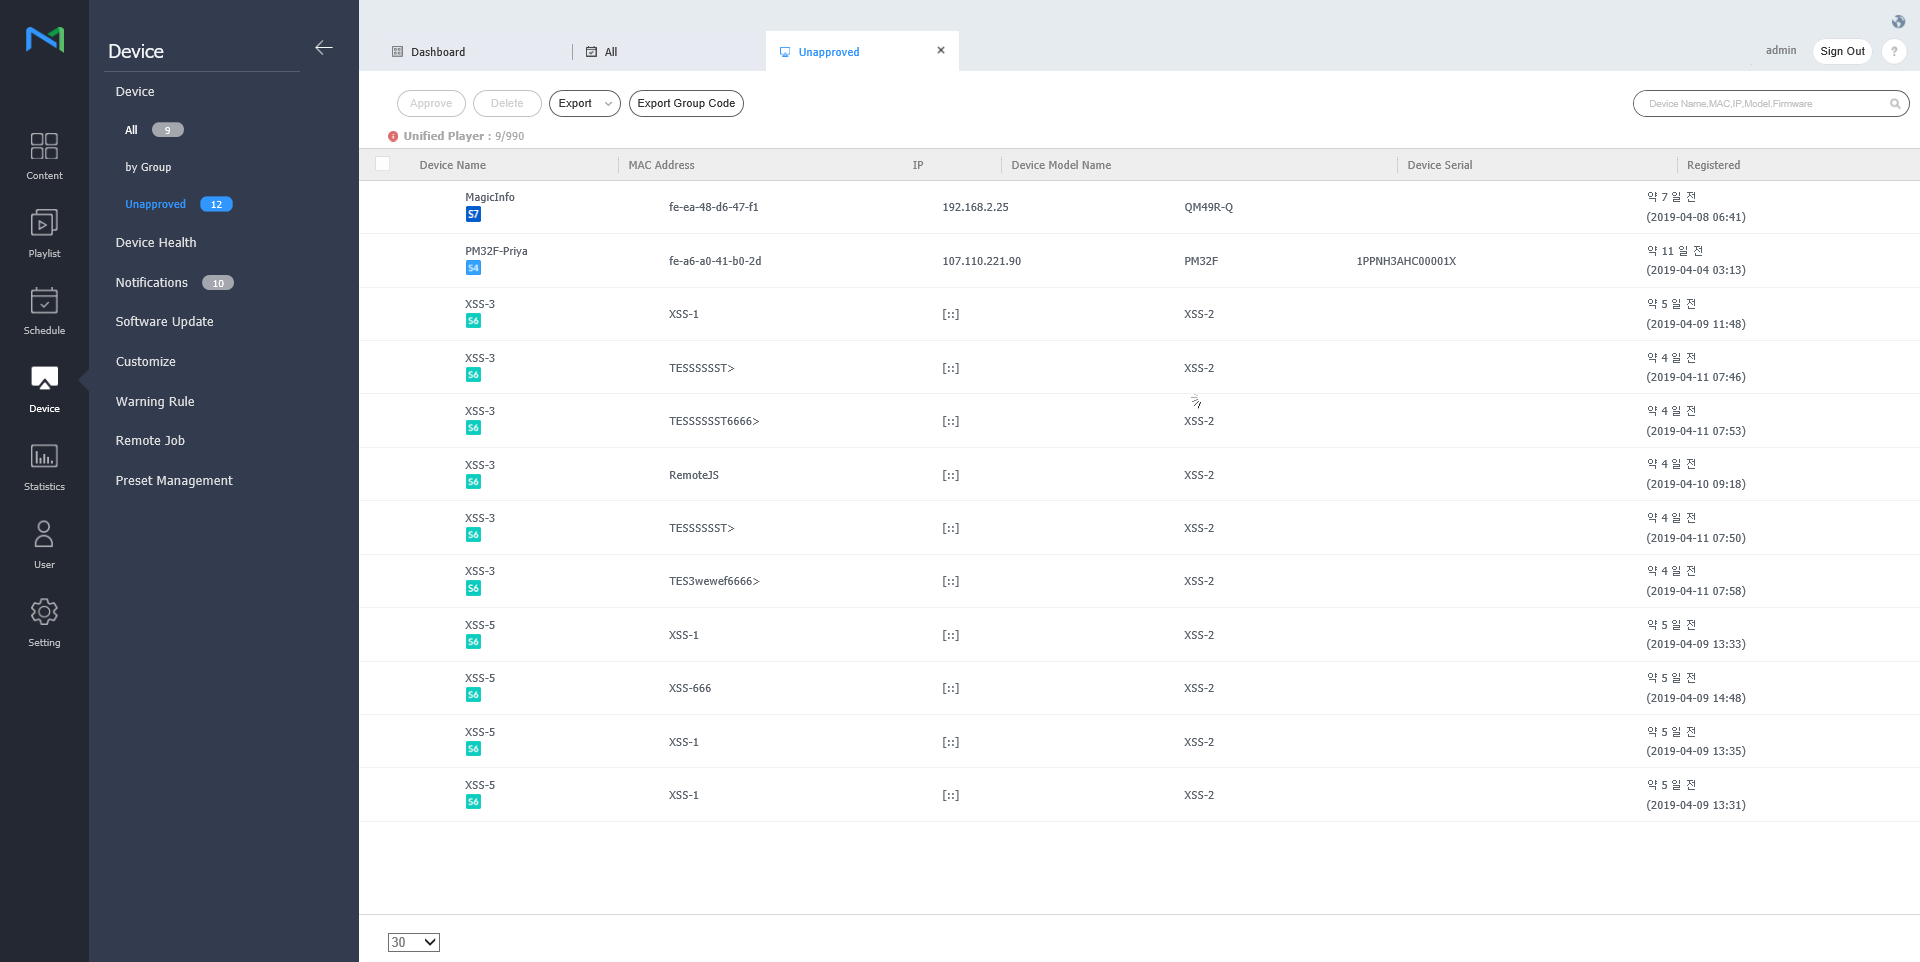
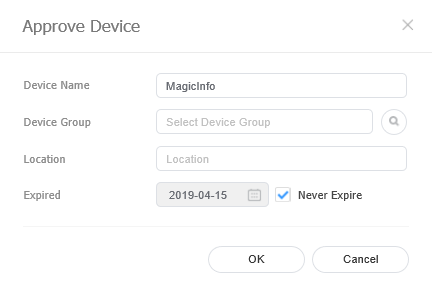
Device → Unapproved → select the screen → Approve → set name, group, location → OK. Approval consumes one player license — which pool depends on the player version the screen reports (shown as badges next to the device name). (Screen side: your model's connect page.)
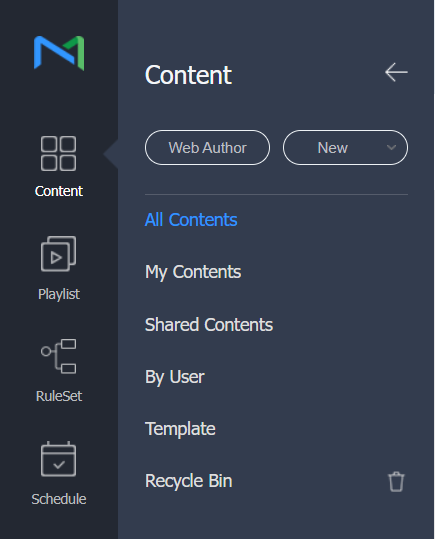
On the Content page, open the left panel and click New → Upload Content → Add Content → Start Upload → Close.
Use Chrome or Edge — the console does not support Safari.
Playlist → New Playlist → pick the player type, type General → drag items from the left pane to the right → Save and name it.
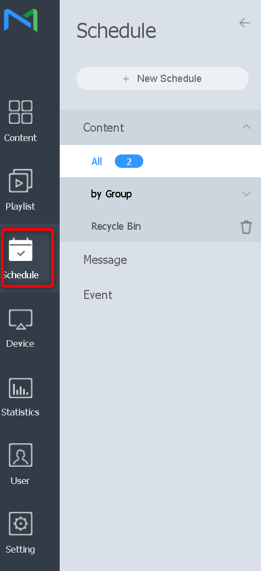
Schedule → New Schedule → Content → player type, type General → Content → Playlist → drag the playlist onto the agenda → click the item and set playdate never expire, playback time 24 hours → Save → name it, choose the devices under Publish to → Save and Publish.
Published content downloads to the screen's internal storage, then plays — typically within about ten minutes, though large videos over a slow link take longer. It keeps playing even if this PC is later switched off. The server only needs to be on to publish changes and to monitor.