Physical setup
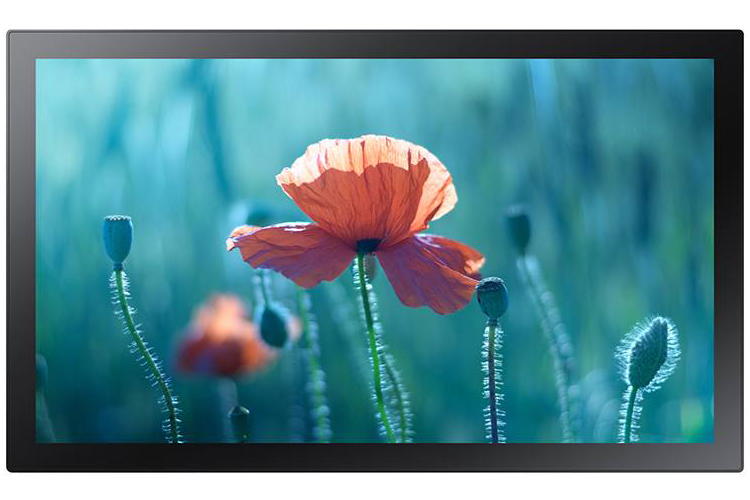
Quick Setup Guide, regulatory guide, warranty card, power cord + AC/DC adapter, remote control, 2× AAA batteries, RS232C adapter, and 2× stand-bars.
Lay the screen face-down on the box foam. Insert each bar into its slot on the bottom of the back and twist to lock. They are the screen's feet.
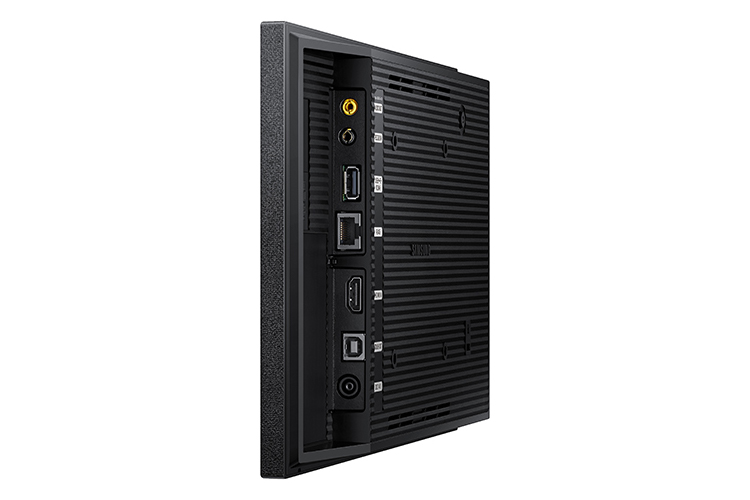
Adapter into the DC 14V port. For a wired network, LAN cable into RJ45. The RS232C adapter cable stays in the box — it's for serial control systems, not needed here.
The IR sensor is on the front face at the bottom — aim there, not at the back. Side-by-side screens may all react to one remote; cover the sensor of the one you're not adjusting.
The setup wizard
Two wizard layouts exist in the field: newer firmware asks for the server inside the wizard; older firmware sets "Play via" in the wizard and the server address afterwards from the menu. Both are covered below.
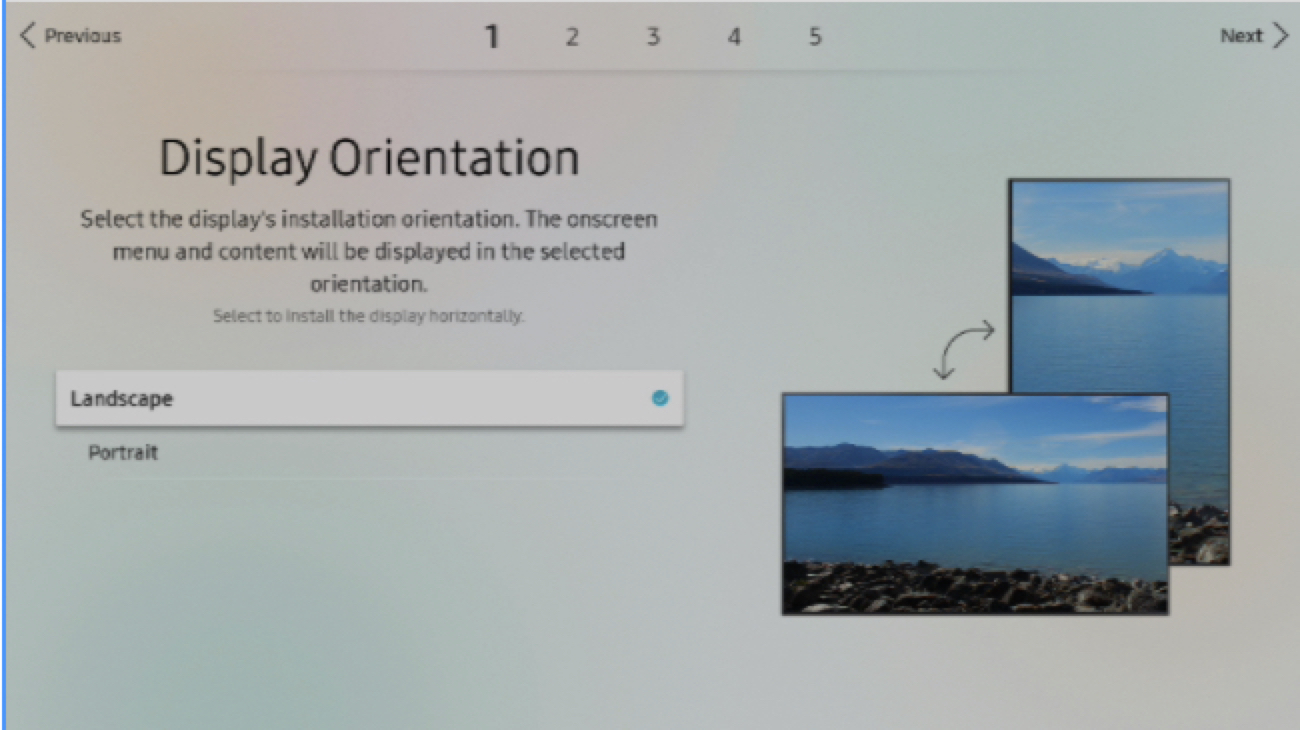
Landscape or portrait, matching the mount.
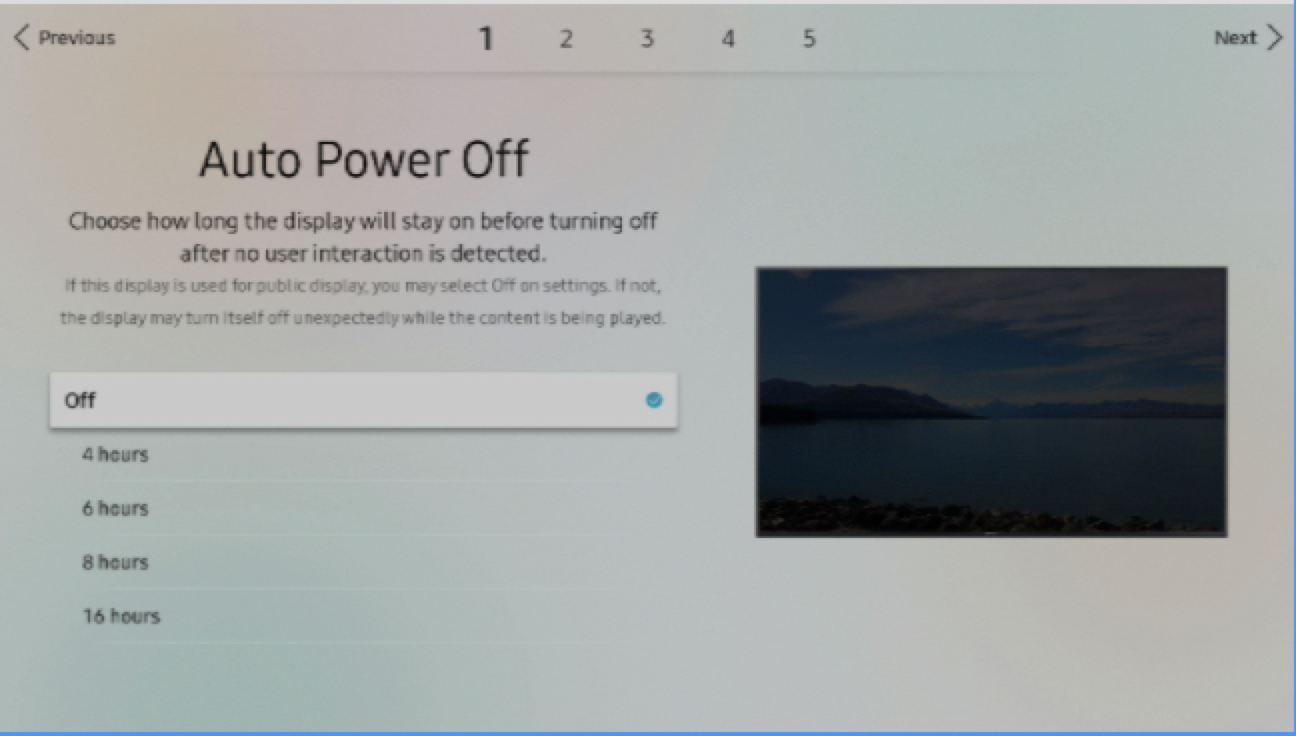
A signage screen that switches itself off defeats the purpose.
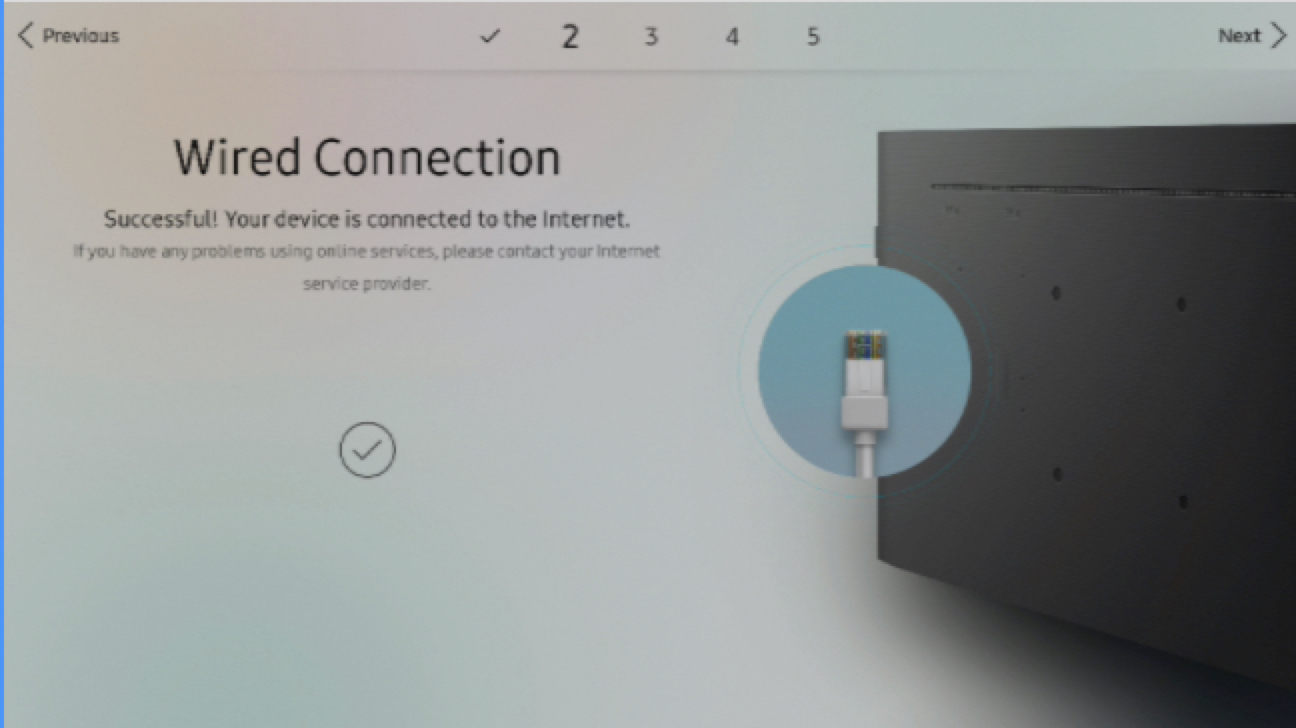
Wired is the more reliable choice for a permanent install; Wi-Fi is fine for a bench test. Avoid guest networks — they often isolate devices from each other (see troubleshooting).
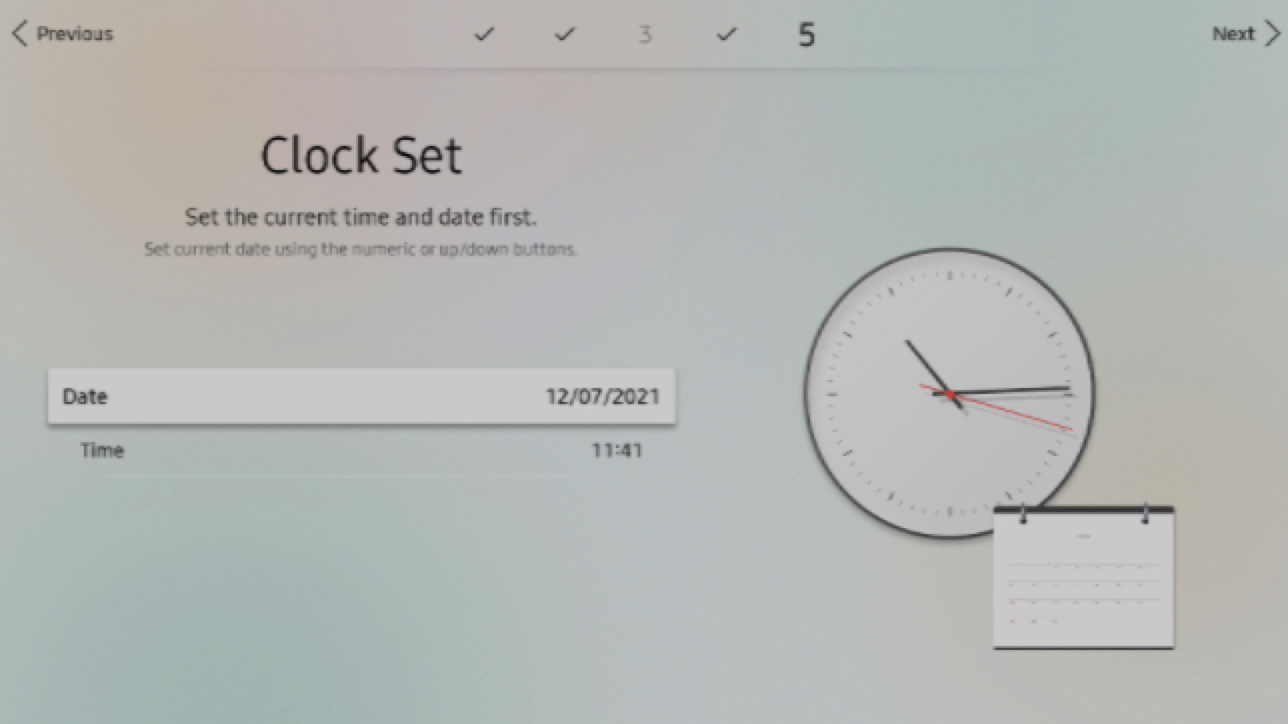
Wrong clock = schedules fire at the wrong time.
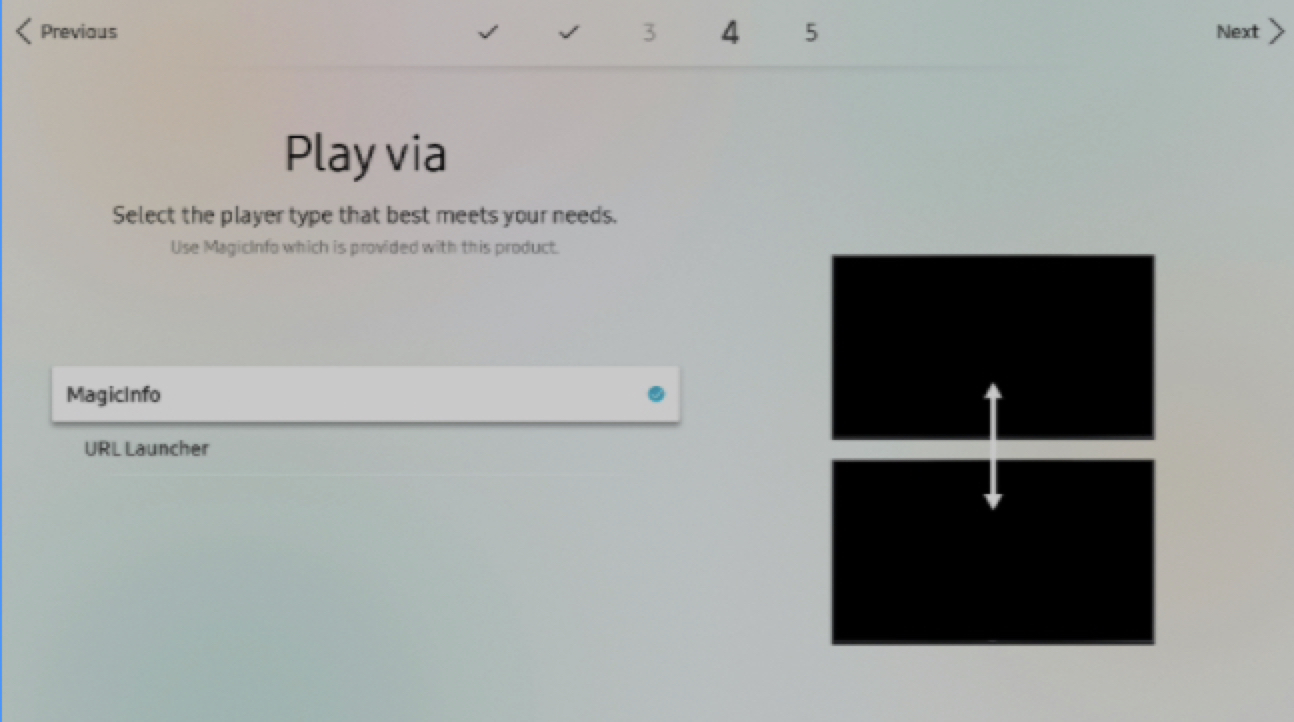
MagicInfo is the built-in player that talks to the server. URL Launcher is for third-party web-based systems — not this one.
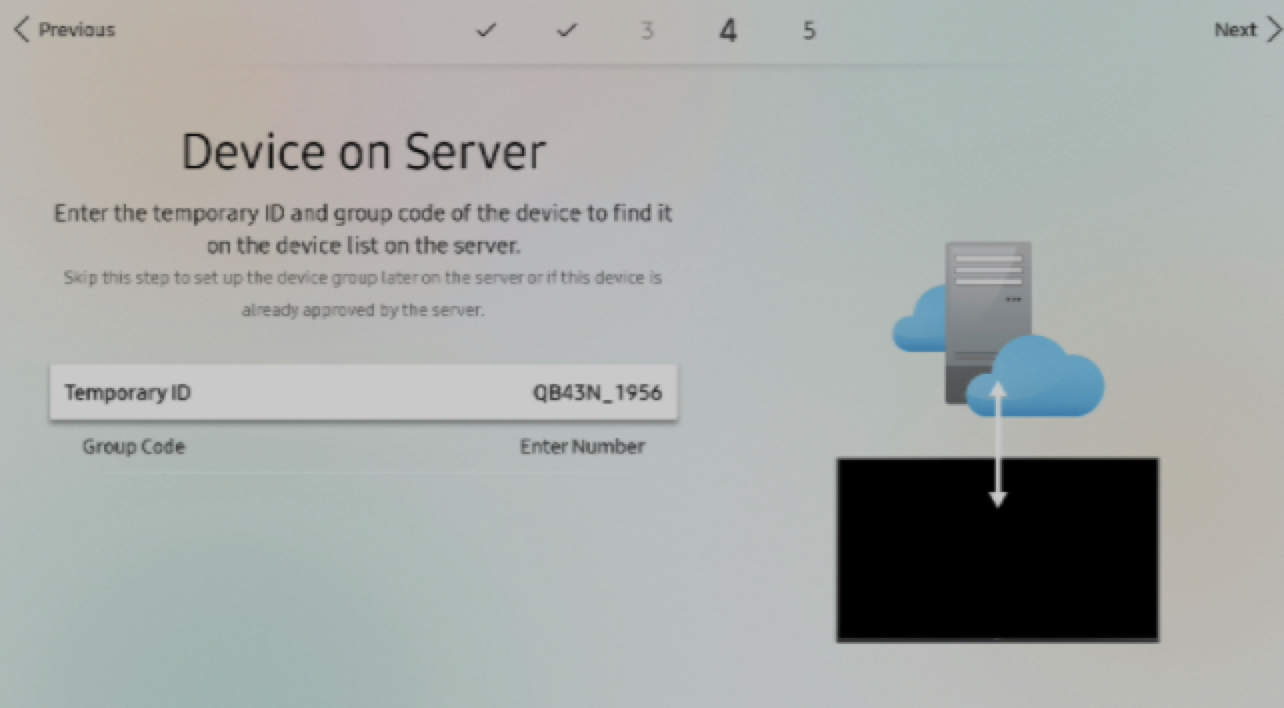
Two fields, both safe to leave alone:
- Temporary ID — the auto-generated ID the screen announces itself with (model plus digits, e.g.
QB43N_1956). Leave it as it is, and write it down: it is how you tell which row in the server's Unapproved list is which physical screen. - Group Code — an optional number that auto-assigns the screen to a device group on the server, used for bulk rollouts. Leave it empty for a couple of screens.
Then Skip the step (or Next) — approval and grouping happen on the server, covered further down.
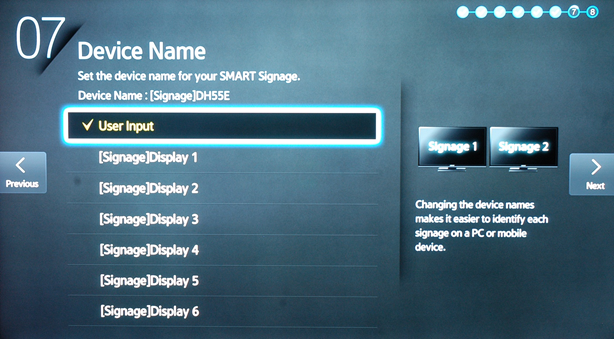
reception_55
Point the screen at the server
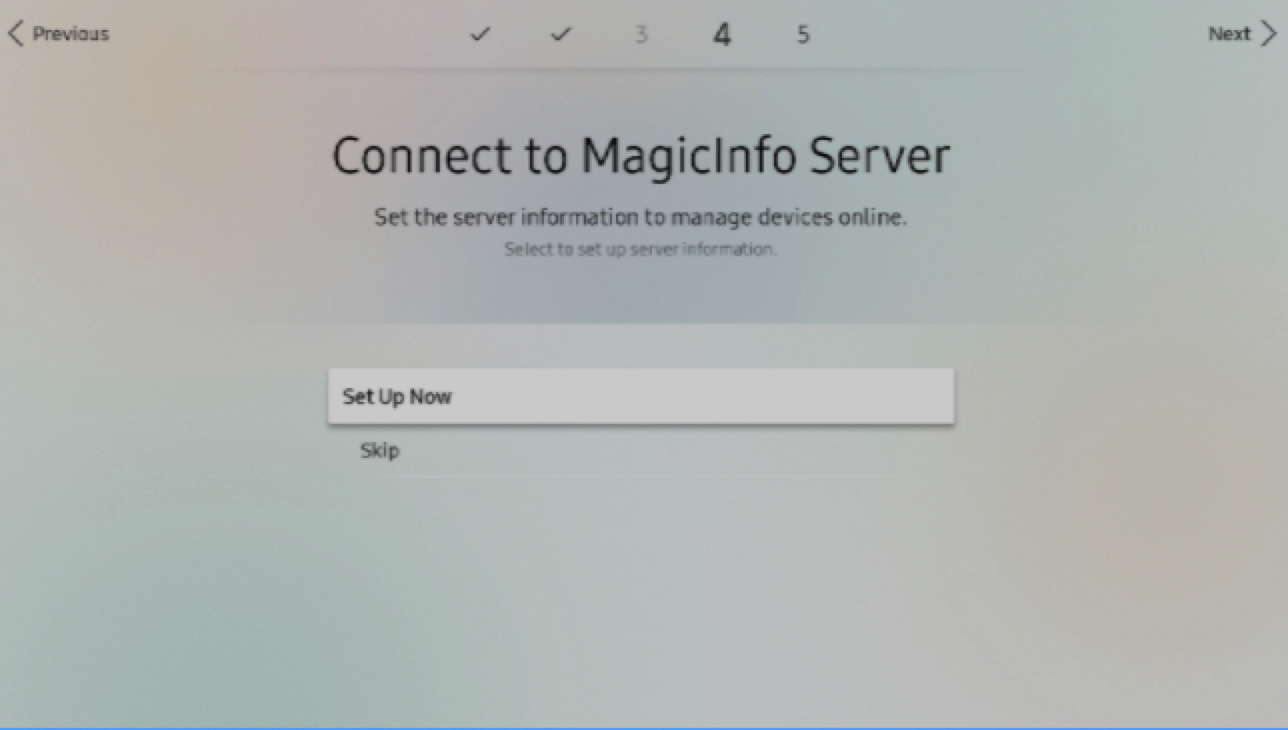
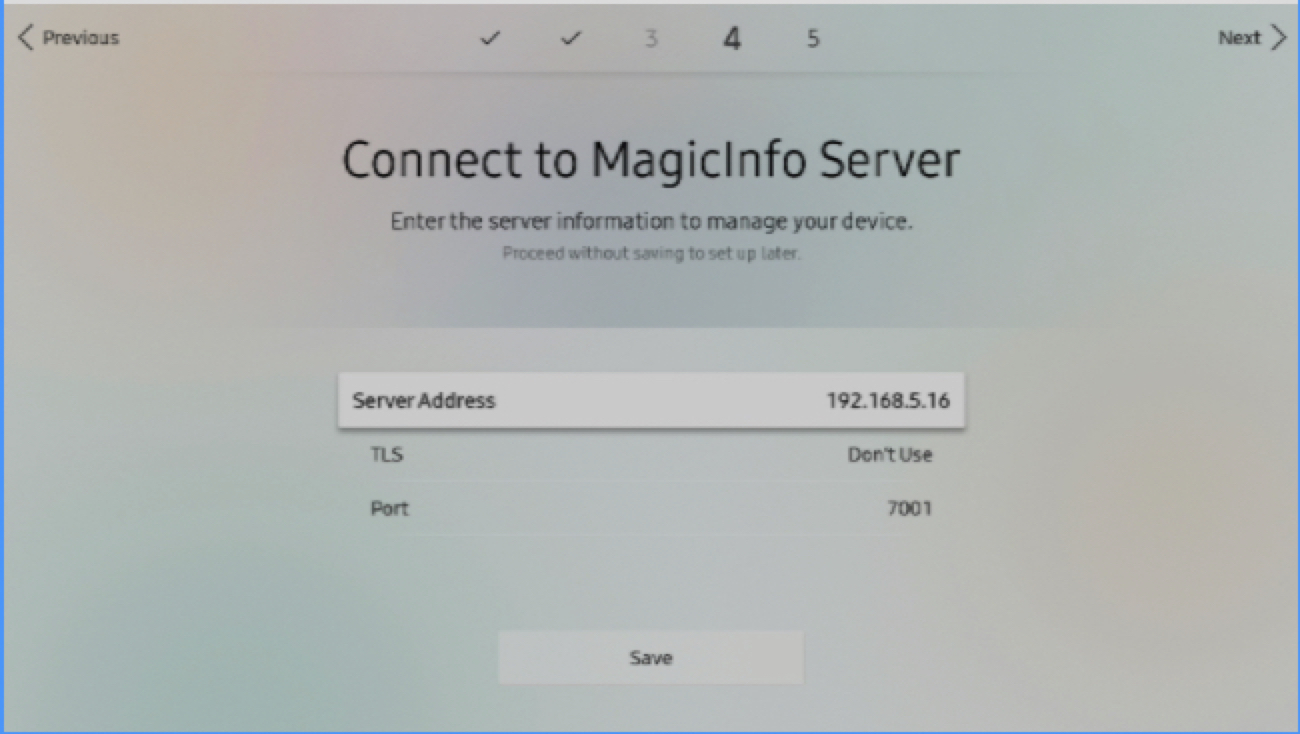
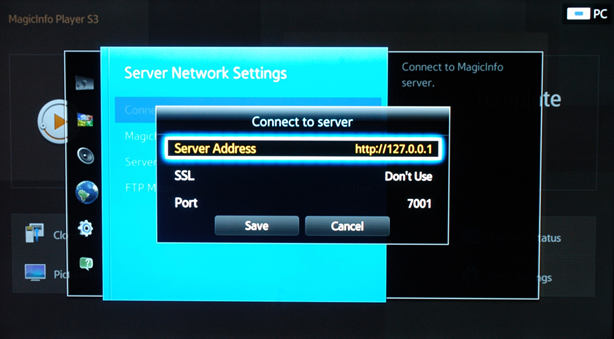
On newer firmware the Connect to MagicInfo Server screen appears inside the wizard. It first offers Set Up Now or Skip — choose Set Up Now, then fill it exactly like this:
- Server Address: the server PC's IP only, e.g.
192.168.1.50(some firmware shows anhttp://prefix — either way, never paste a full URL with the port) - TLS:
Don't Use - Port:
7001
Press Save.
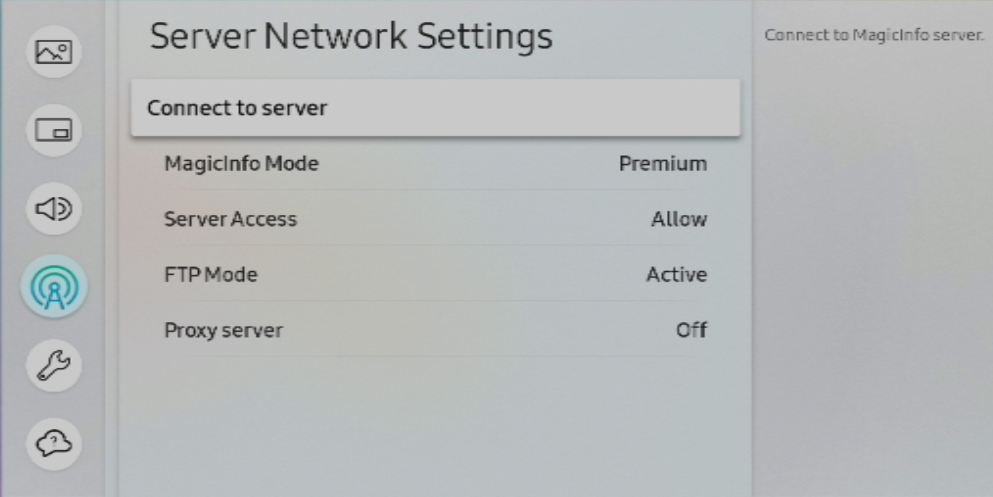
If the wizard never asked, or the server moved: Menu → Network → Server Network Settings → Connect to server — same three fields.
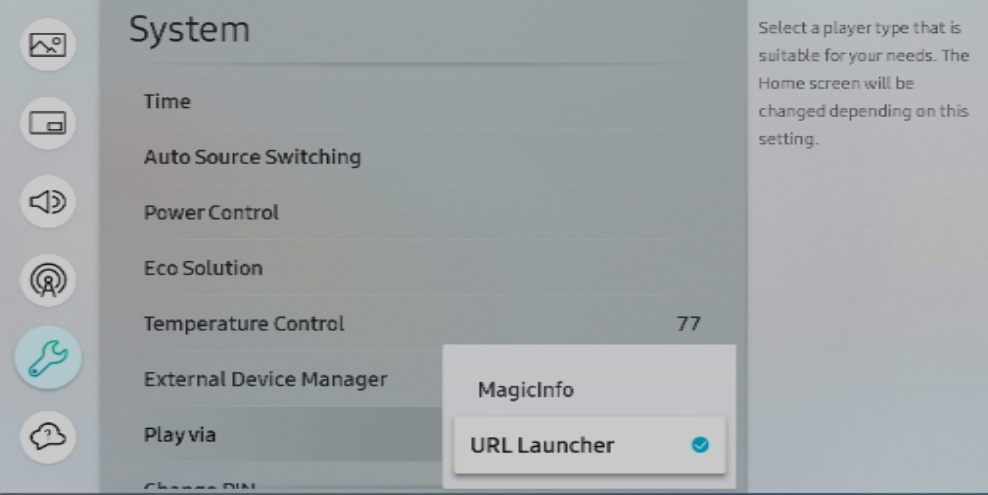
Menu → System → Play via switches between MagicInfo and URL Launcher at any time. Leave it on MagicInfo.
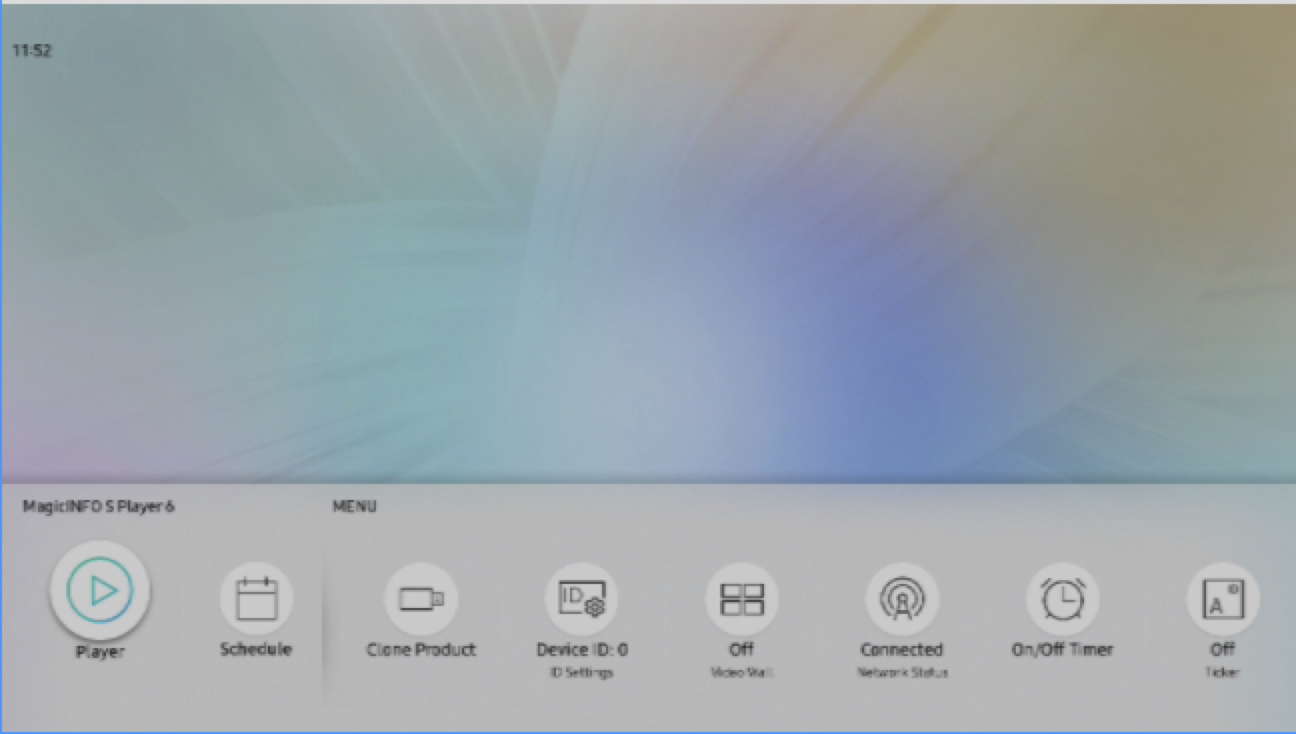
The MagicInfo home screen shows Player / Schedule tiles and settings shortcuts. Choose Player.
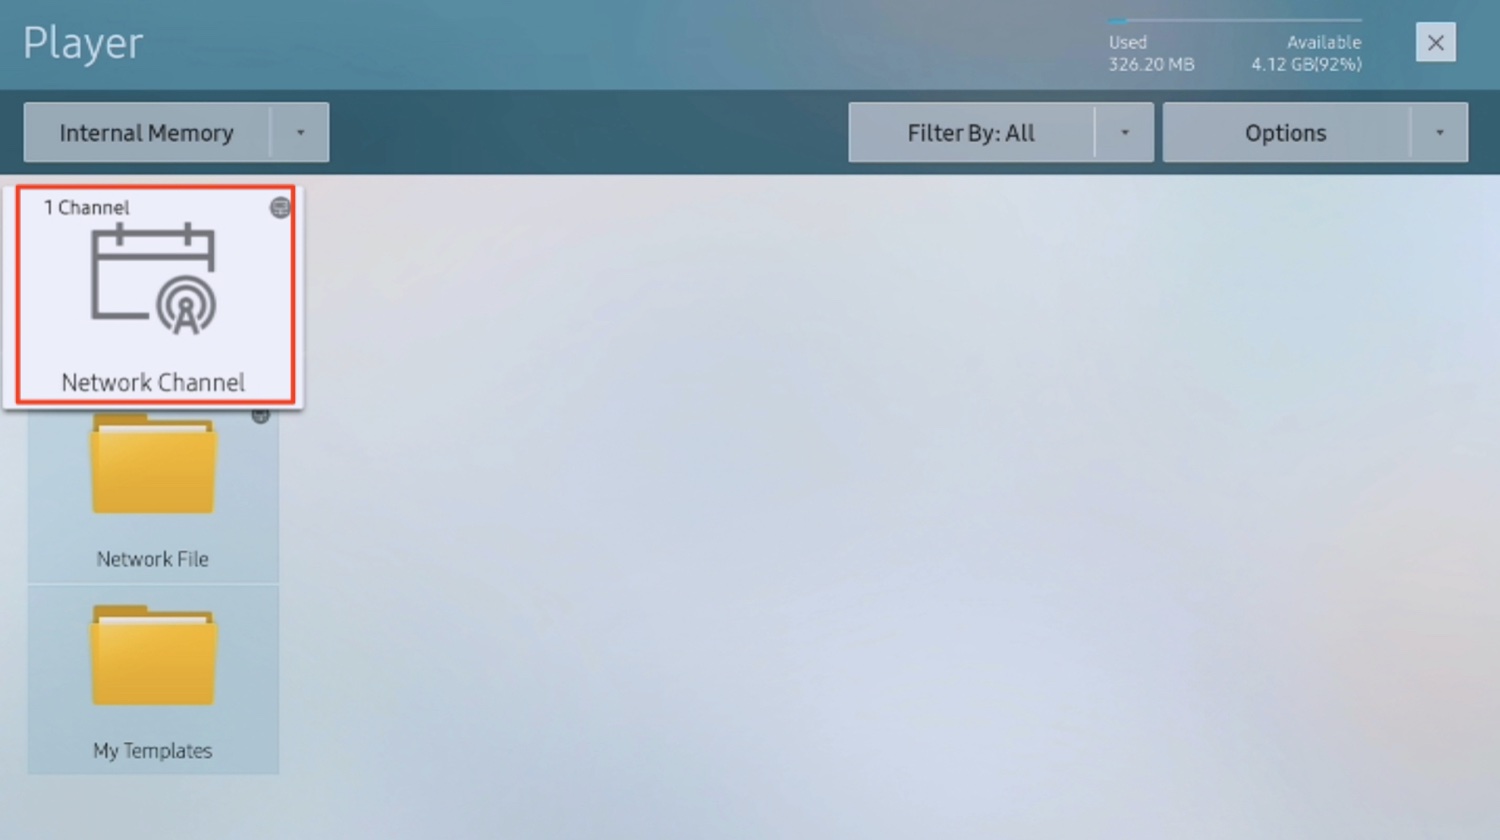
Older firmware labels this "no channel". MagicInfo now loads.
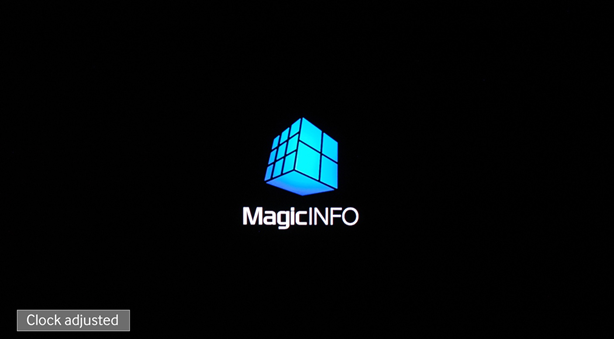
The MagicInfo splash appears and "Clock adjusted" flashes in the lower-left corner. That message means the screen reached the server and synced its clock. If you never see it, the connection failed — go to troubleshooting below.
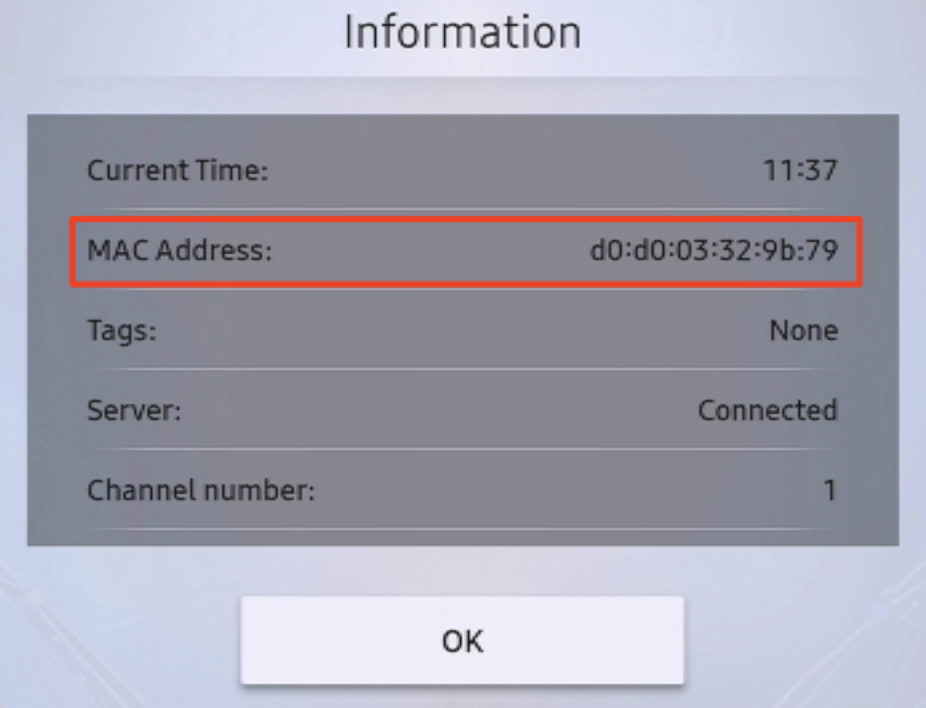
If you missed the message, there is a second way to check: open Information from the player menu — it lists the MAC Address and a Server line that reads Connected.
Approve the screen in the console
In the web console — http://<server-ip>:7001/MagicInfo, or http://localhost:7001/MagicInfo when working directly on the server PC — the new screen appears under Device → Unapproved, listed by its auto-generated ID (e.g. QB43N_8443), with MAC and IP.
MagicInfo part of the address is case-sensitive. Typing /magicinfo returns a 404 that looks exactly like a dead server — check the capital M and I before you start debugging the firewall.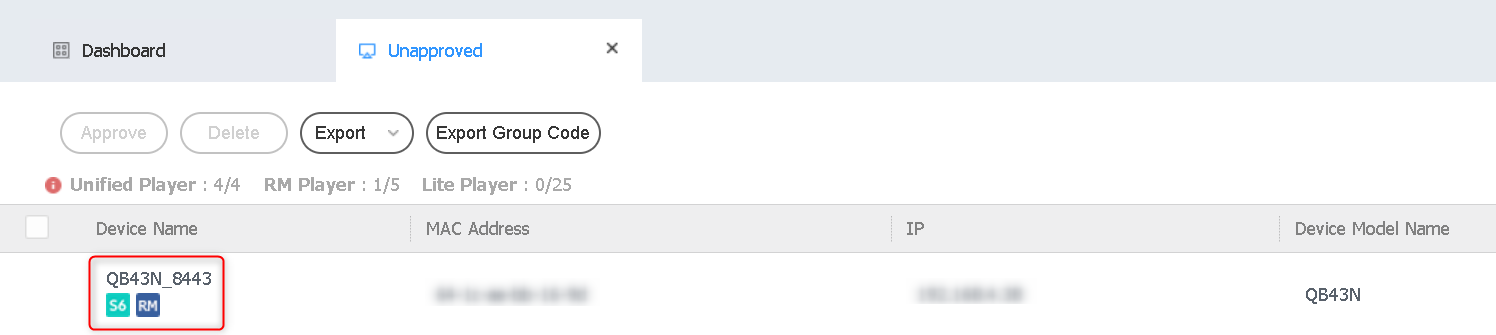
Set name, group and location, click OK. This is where the screen gets its real name — make it recognisable, e.g. showroom_left or reception_55; leaving it as the auto-generated ID is painful later. One player license is consumed — which pool depends on the player version the screen reports (the badges next to the device name).
127.0.0.1 — re-open Connect to server, re-enter the server IP and port 7001, then restart the player, or the screen silently tries to register with itself and never comes back. It then re-registers as a Lite player — approve again. If the old entry looks stale, Delete it and let the screen reconnect. This is what "MagicInfo Lite" actually means: the free tier is the Lite player mode.After approval the screen downloads its content and schedule to internal storage and plays from there. How long that takes depends on content size and network speed. That's why it keeps playing through network outages — the network is only needed to update content, not to play it.
Firmware, sources, troubleshooting
Menu → Support → Software Update → Update Now with a FAT32 USB stick holding the unzipped firmware files in the root of the drive (not in a folder). Never power off during the update. Verify afterwards under Menu → Support → Contact Samsung.
That is Standby Control, on by default. It sleeps the panel on a roughly 30-second no-signal countdown — and a Lite player with nothing published to it yet counts as no signal.
While you are in there: Max. Power Saving → Off, Auto Power On → On (the screen comes back by itself after a power cut), and under Menu → System set Auto Source Switching → Off and Primary Source Recovery → Off. Once real content is playing the no-signal condition goes away on its own — set these anyway, so the screen always comes back by itself.
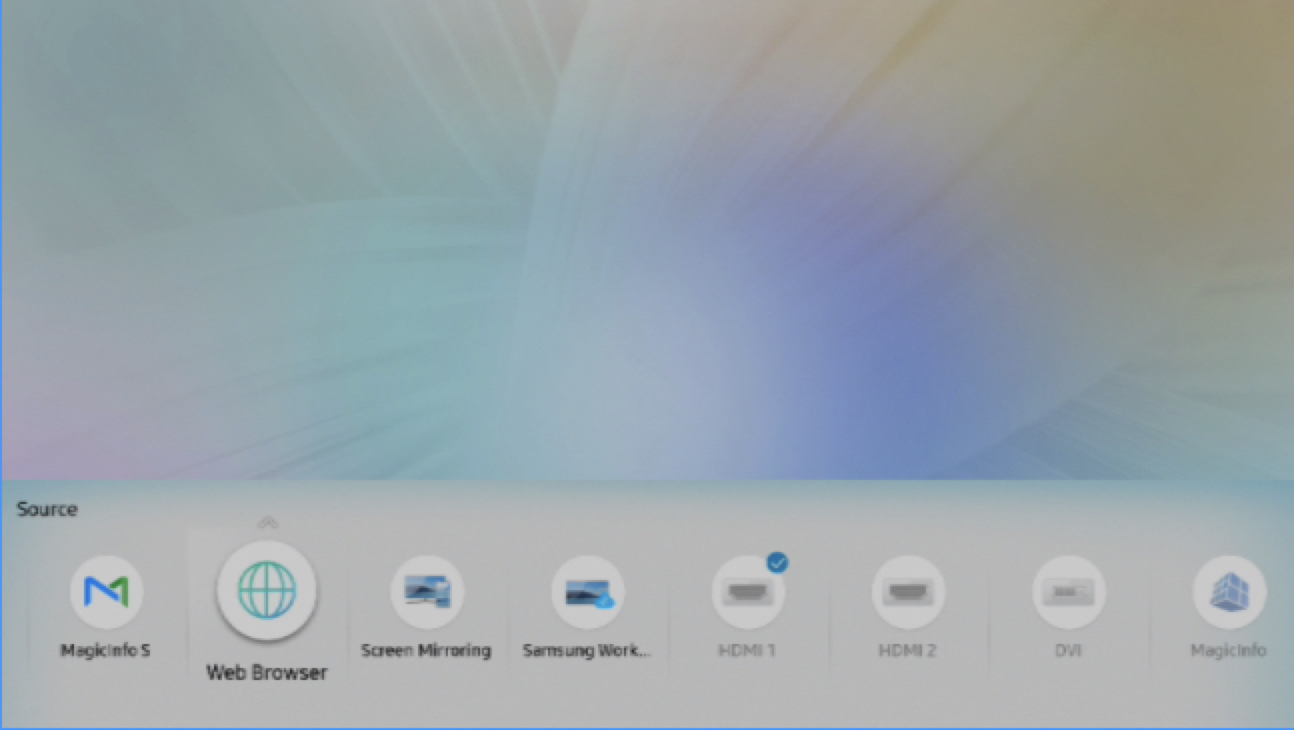
Press Source on the remote: MagicInfo S, Web Browser, HDMI, etc. MagicInfo S returns to the player.